Get Moving: 3G Sunsetting Deadline is Rapidly Approaching
What makes 3G sunsetting so potentially disruptive is that 3G has been used for nearly 20 years. For a generation of users and applications, it has been the service of choice.They’ll Remember The Rage Monster
I was tired. Very tired. Tired in my brain. Tired in my body. I needed to eat, puke, and scream…all of those things as soon as possible. Big cutovers are like that. You know the kind of change I’m talking about. The kind where you only get a maintenance window twice a year, so you plan to throw in the new core switch pair because that’s easy, re-tool the BGP peering that twelve other changes are waiting for, and bring up the new firewall all in one night.
Stupid! Unthinkable! Small changes only!! I mean…obviously. Of course. But sometimes, that’s just not the way it works out. And so it was that after several hours of executing a meticulously planned change that would create the network foundation for the company’s big plans, I needed to eat, puke, and scream.
You see, the change hadn’t got entirely well. It had only gone mostly well. The core switch upgrade really was easy. The BGP peering work went well enough. The new firewall was a fight, though.
At first, the firewall pair wouldn’t pass traffic. At all. Despite a lovely routing table and so on. After sitting in the freezing data center for Continue reading
No REST For The Wicked
So far, this series has explored applying the Model, View, Controller (MVC) software design pattern to infrastructure with purely Python-driven network automation. We have created a fully function infrastructure-as-software application using the out-of-the-box Django framework; a PostgreSQL database (Model); pyATS jobs (Controller); and the trinity of Python URLs and Views and Django Templating Language (DTL) […]
The post No REST For The Wicked appeared first on Packet Pushers.
4 Hot Network Security Acronyms You Must Know: ZTN, XDR, SASE, BYOD
Organizations must adopt a forward-looking network security strategy that can deal with advanced threats, ensure regulatory compliance, and safeguard the network.Tech Bytes: The Security Fabric Advantage With Fortinet (Sponsored)
Today's Tech Bytes podcast is a security conversation--specifically security fabrics or ‘security mesh’ architectures: an integrated set of products that work together to help you manage risk in the network, on endpoints, and to do things like improve detection and response. Fortinet is our sponsor.
The post Tech Bytes: The Security Fabric Advantage With Fortinet (Sponsored) appeared first on Packet Pushers.
Tech Bytes: The Security Fabric Advantage With Fortinet (Sponsored)
Today's Tech Bytes podcast is a security conversation--specifically security fabrics or ‘security mesh’ architectures: an integrated set of products that work together to help you manage risk in the network, on endpoints, and to do things like improve detection and response. Fortinet is our sponsor.Real-time Kubernetes cluster monitoring example


The Sunburst Process chart provides an up to the second view of the cluster-wide share of CPU resources used by each namespace.

The Sunburst DNS chart shows a real-time view of network activity generated by each namespace. The chart is produced by looking up DNS names for network addresses observed in packet flows using the Kubernetes DNS service. The domain names contain information about the namespace, service, and node generating the packets. Most traffic is exchanges between nodes within the cluster (identified as local). The external (not local) traffic is also shown by DNS name.

The Sunburst Protocols chart shows the different network protocols being used to communicate between nodes in the cluster. The chart shows the IP over IP tunnel traffic used for network virtualization.

Clicking on a segment in the Sunburst Protocols chart allows the selected traffic to be examined in detail using the Flow Browser. In this example, Continue reading
Network Break 362: AWS Announces Private 5G Service; FTC Says No To Nvidia’s Arm Grab
Today's Network Break covers two AWS announcements including a private 5G offering and new networking service, discusses why the FTC is against Nvidia acquiring Arm Holdings, examines a new security feature in Aviatrix, and more tech news.
The post Network Break 362: AWS Announces Private 5G Service; FTC Says No To Nvidia’s Arm Grab appeared first on Packet Pushers.
Network Break 362: AWS Announces Private 5G Service; FTC Says No To Nvidia’s Arm Grab
Today's Network Break covers two AWS announcements including a private 5G offering and new networking service, discusses why the FTC is against Nvidia acquiring Arm Holdings, examines a new security feature in Aviatrix, and more tech news.Tier 1 Carriers Performance Report: November, 2021
The post Tier 1 Carriers Performance Report: November, 2021 appeared first on Noction.
Replace your hardware firewalls with Cloudflare One
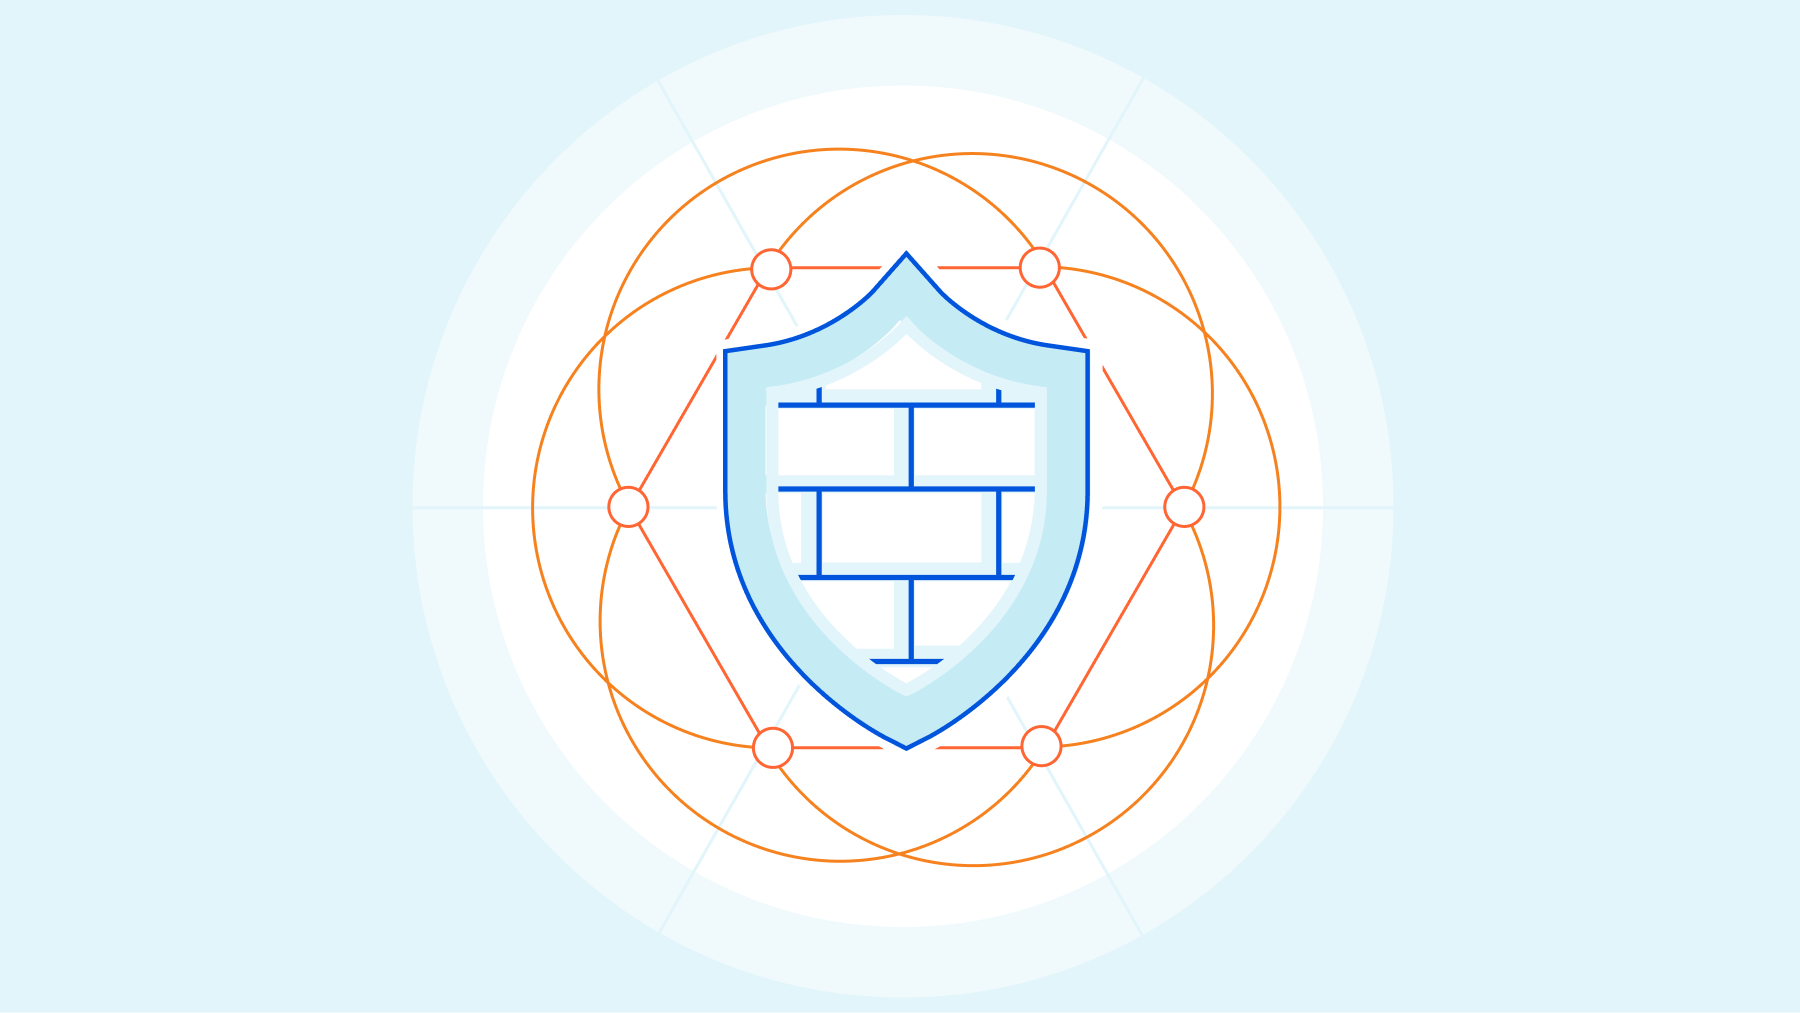

Today, we’re excited to announce new capabilities to help customers make the switch from hardware firewall appliances to a true cloud-native firewall built for next-generation networks. Cloudflare One provides a secure, performant, and Zero Trust-enabled platform for administrators to apply consistent security policies across all of their users and resources. Best of all, it’s built on top of our global network, so you never need to worry about scaling, deploying, or maintaining your edge security hardware.
As part of this announcement, Cloudflare launched the Oahu program today to help customers leave legacy hardware behind; in this post we’ll break down the new capabilities that solve the problems of previous firewall generations and save IT teams time and money.
How did we get here?
In order to understand where we are today, it’ll be helpful to start with a brief history of IP firewalls.
Stateless packet filtering for private networks
The first generation of network firewalls were designed mostly to meet the security requirements of private networks, which started with the castle and moat architecture we defined as Generation 1 in our post yesterday. Firewall administrators could build policies around signals available at layers 3 and 4 of the OSI model Continue reading
How We Used eBPF to Build Programmable Packet Filtering in Magic Firewall
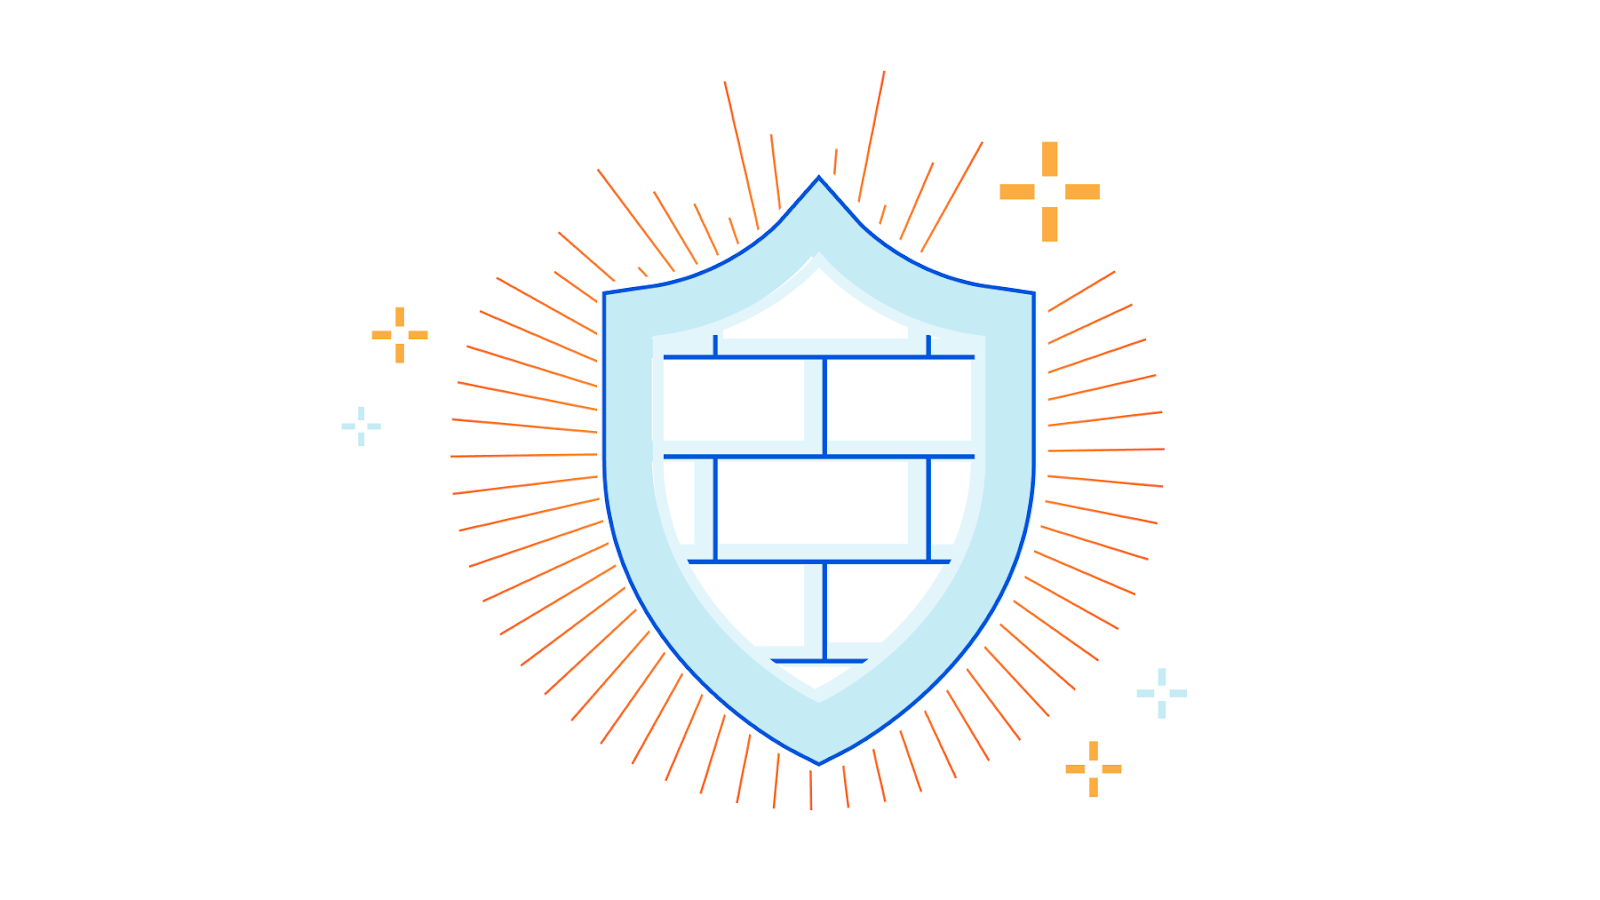

Cloudflare actively protects services from sophisticated attacks day after day. For users of Magic Transit, DDoS protection detects and drops attacks, while Magic Firewall allows custom packet-level rules, enabling customers to deprecate hardware firewall appliances and block malicious traffic at Cloudflare’s network. The types of attacks and sophistication of attacks continue to evolve, as recent DDoS and reflection attacks against VoIP services targeting protocols such as Session Initiation Protocol (SIP) have shown. Fighting these attacks requires pushing the limits of packet filtering beyond what traditional firewalls are capable of. We did this by taking best of class technologies and combining them in new ways to turn Magic Firewall into a blazing fast, fully programmable firewall that can stand up to even the most sophisticated of attacks.
Magical Walls of Fire
Magic Firewall is a distributed stateless packet firewall built on Linux nftables. It runs on every server, in every Cloudflare data center around the world. To provide isolation and flexibility, each customer’s nftables rules are configured within their own Linux network namespace.

This diagram shows the life of an example packet when using Magic Transit, which has Magic Firewall built in. First, packets go into the server and DDoS Continue reading
Announcing Anycast IPsec: a new on-ramp to Cloudflare One

Today, we're excited to announce support for IPsec as an on-ramp to Cloudflare One. As a customer, you should be able to use whatever method you want to get your traffic to Cloudflare's network. We've heard from you that IPsec is your method of choice for connecting to us at the network layer, because of its near-universal vendor support and blanket layer of encryption across all traffic. So we built support for it! Read on to learn how our IPsec implementation is faster and easier to use than traditional IPsec connectivity, and how it integrates deeply with our Cloudflare One suite to provide unified security, performance, and reliability across all your traffic.
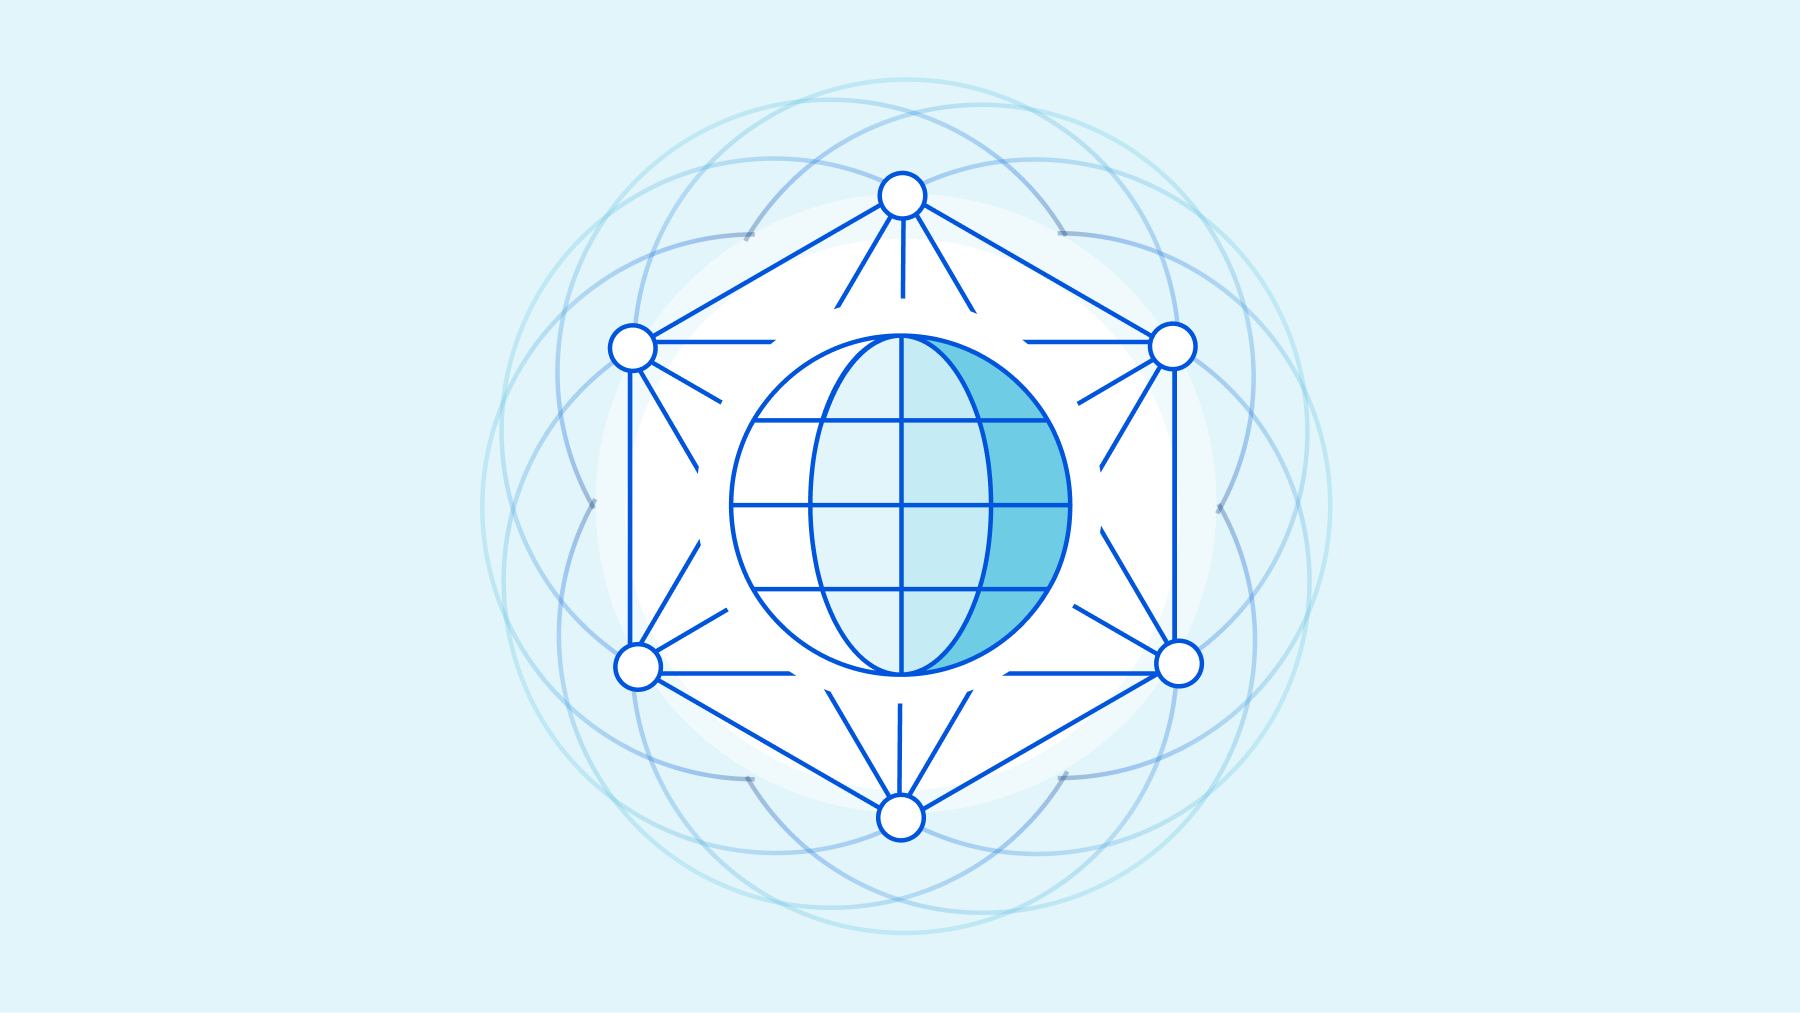
Using the Internet as your corporate network
With Cloudflare One, customers can connect any traffic source or destination — branch offices, data centers, cloud properties, user devices — to our network. Traffic is routed to the closest Cloudflare location, where security policies are applied before we send it along optimized routes to its destination — whether that’s within your private network or on the Internet. It is good practice to encrypt any traffic that’s sensitive at the application level, but for customers who are transitioning from forms of Continue reading
Cloudflare One: One Year Later


Cloudflare One helps enterprises build modern enterprise networks, operate efficiently and securely, and throw out on-premise hardware. It’s been more than a year since we announced the product suite, and we wanted to check in on how things are going.
We’re celebrating Chief Information Officers this week. Regardless of the size of their organization, they’ve had a challenging year. Overnight, their teams became responsible for years of digital transformation to prepare their networks and users to support work-from-home and to adopt new technologies. They worked with partners across security, engineering, and people teams to keep their critical infrastructure running.
Today, we want to focus on the problems that CIOs have been able to solve with Cloudflare One in the last year. Customers are using Cloudflare One at a scale we couldn’t have imagined a year ago to solve interesting problems that we didn't know existed yet. We’ll walk through some specific use cases later in the post, but first, let’s recap why we built Cloudflare One, what problems it solves, and some of the new things we’re launching this week.
What is Cloudflare One?
Cloudflare One allows companies to purchase, provision, and manage connectivity, security, and analytics tools needed Continue reading
How to connect your offices to Cloudflare using SD-WAN
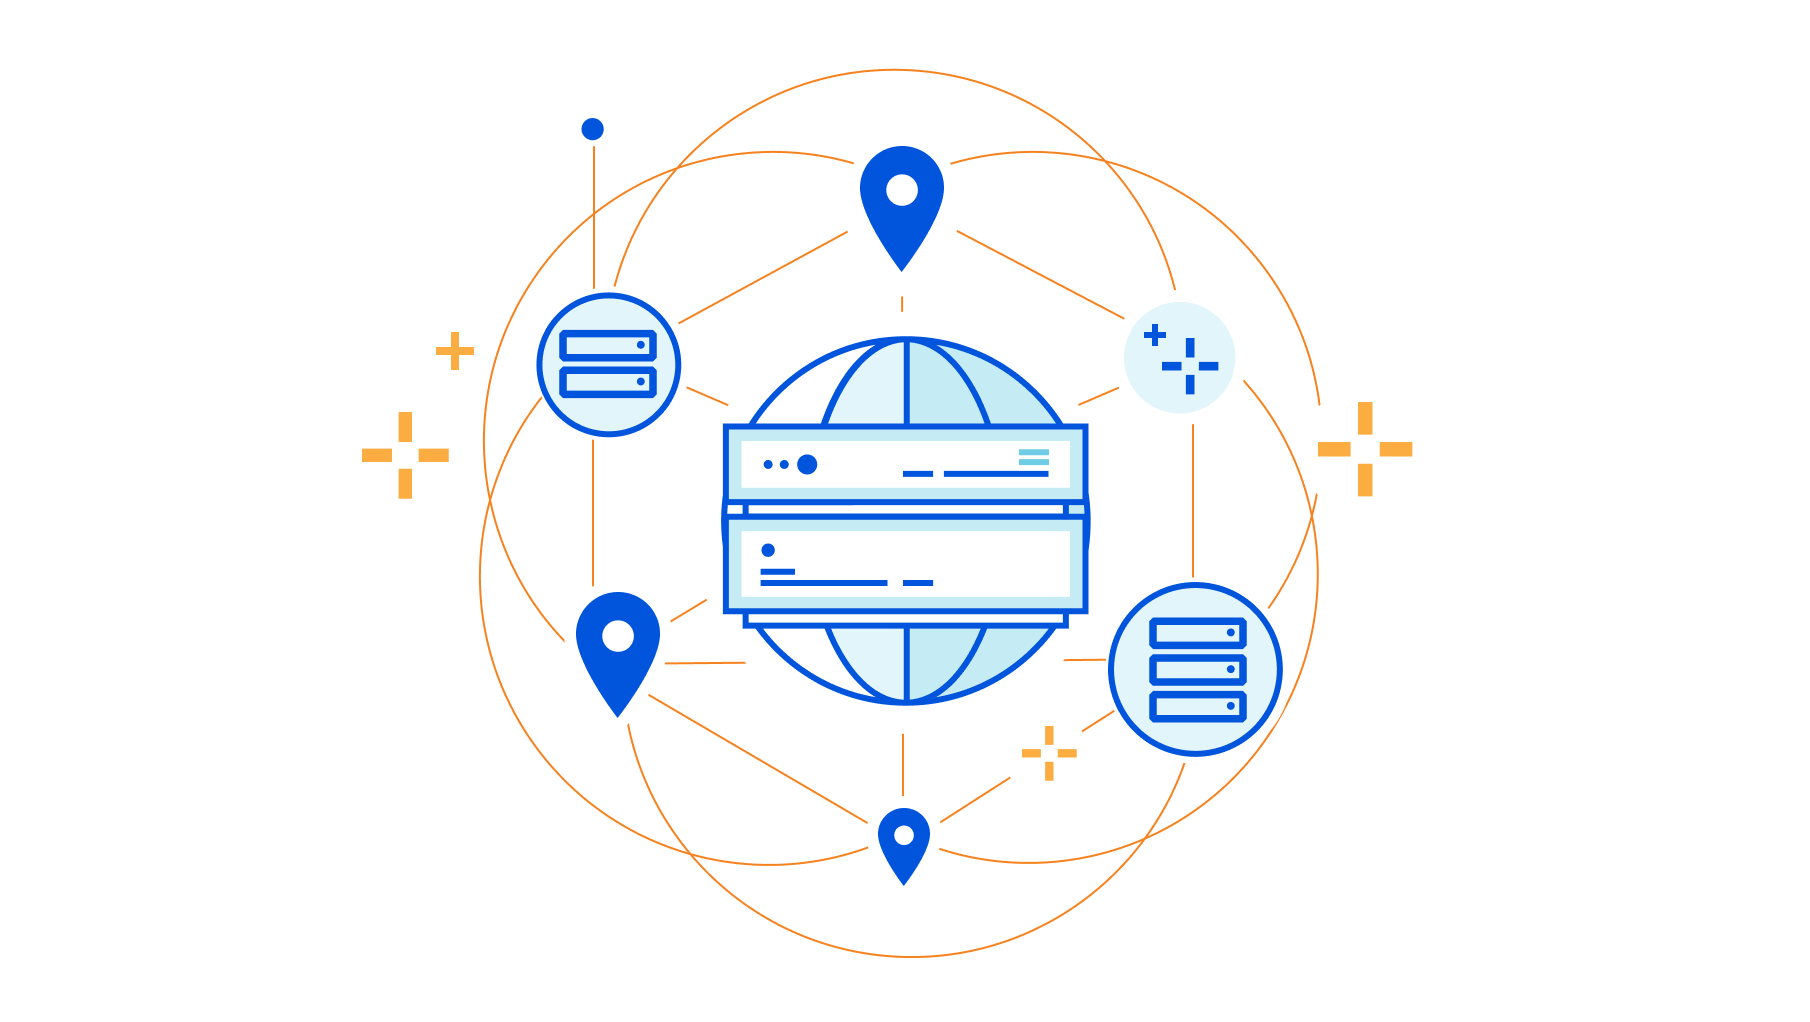

Many offices will soon be re-opening and, just as two years ago when the shift to remote work brought a paradigm change for IT and networking teams, the return to office will bring its own challenges. Two years ago, Chief Information Officers faced a surprise fire drill enabling a completely remote workforce nearly overnight. As companies start to experiment with hybrid working models, IT teams are facing new problems. They are not just re-opening existing branches and potentially activating new ones to enable greater distribution of a more flexible workforce, but also ensuring users have a consistent experience regardless of where they’re connecting. All of this occurs while maintaining visibility and security across an increasingly complex and hard to maintain corporate network.
Some companies have adopted SD-WAN technology to help solve these problems. SD-WAN, or software-defined wide-area networking, is a flexible way to interconnect branches and corporate headquarters together using software as an overlay to various hardware platforms. Deploying SD-WAN can make IT and network teams’ lives simpler by consolidating management tasks and abstracting away the complexity of router configuration. SD-WAN platforms often include a central “orchestrator” that holds information about connected locations.